Springtime Pierogi Fun: A Family Kitchen Adventure Straight From Poland
There’s something magical about a traditional Polish Easter breakfast: warm, tender pierogis fresh off the stove, savory kielbasa, a bright fruit salad, slices of rye bread, and maybe even a sweet Placzek.
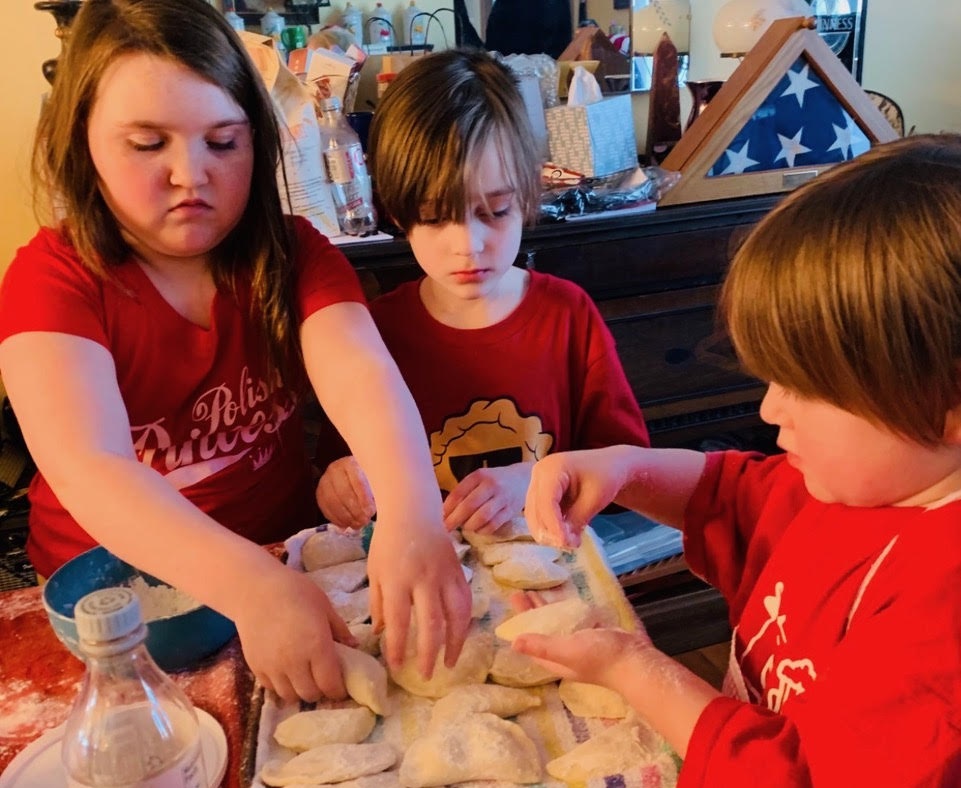
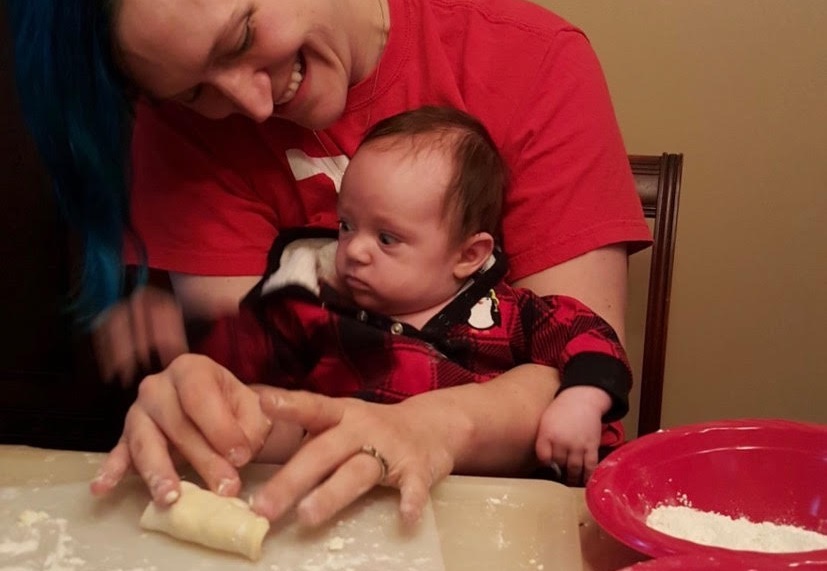
There’s nothing quite like the flavor and texture of homemade pierogis, and the process itself can transform a spring morning into a lively, multi-generational kitchen adventure. Invite grandparents, cousins, aunts, and uncles — everyone can take part and make the day truly special. Every person, old and young, can play a role: some boil, some roll, others pinch, and taggers/baggers can help with freezing. For added liveliness, put polka music on in the background.
What You’ll Need (Serves 4–6)
For the Dough:
- 2 cups all-purpose flour, plus extra for rolling
- 1 large egg
- ½ cup warm water
- 2 tbsp sour cream or yogurt
- ½ tsp salt
For Cheese Filling:
- 1 cup farmer’s cheese (or well-drained ricotta if unavailable)
- 2 tbsp finely chopped onion (white or yellow)
- 1 tbsp unsalted butter
- ¼ tsp salt (adjust to taste)
- ¼ tsp black pepper
- Optional: 1 tsp chopped fresh chives or parsley for brightness
Alternate Filling Ideas:
- Classic potato & cheddar
- Sauerkraut cooked in bacon fat
- Steak with hot pepper and cheese
- Apples with cinnamon
Extras:
- Rolling pin
- Round cookie cutter or glass (3-inch diameter)
- Spoon or small cookie scoop
- Fork for crimping edges
- Butter for frying
- Oil for freezing
- Freezer bags for storage
Step 1: Make the Dough
Mix flour and salt in a large bowl. Add egg, sour cream, and water, stirring until a dough forms. Knead 5–7 minutes until smooth. Kids can sprinkle flour and gently press dough while adults handle kneading. Cover and let rest.
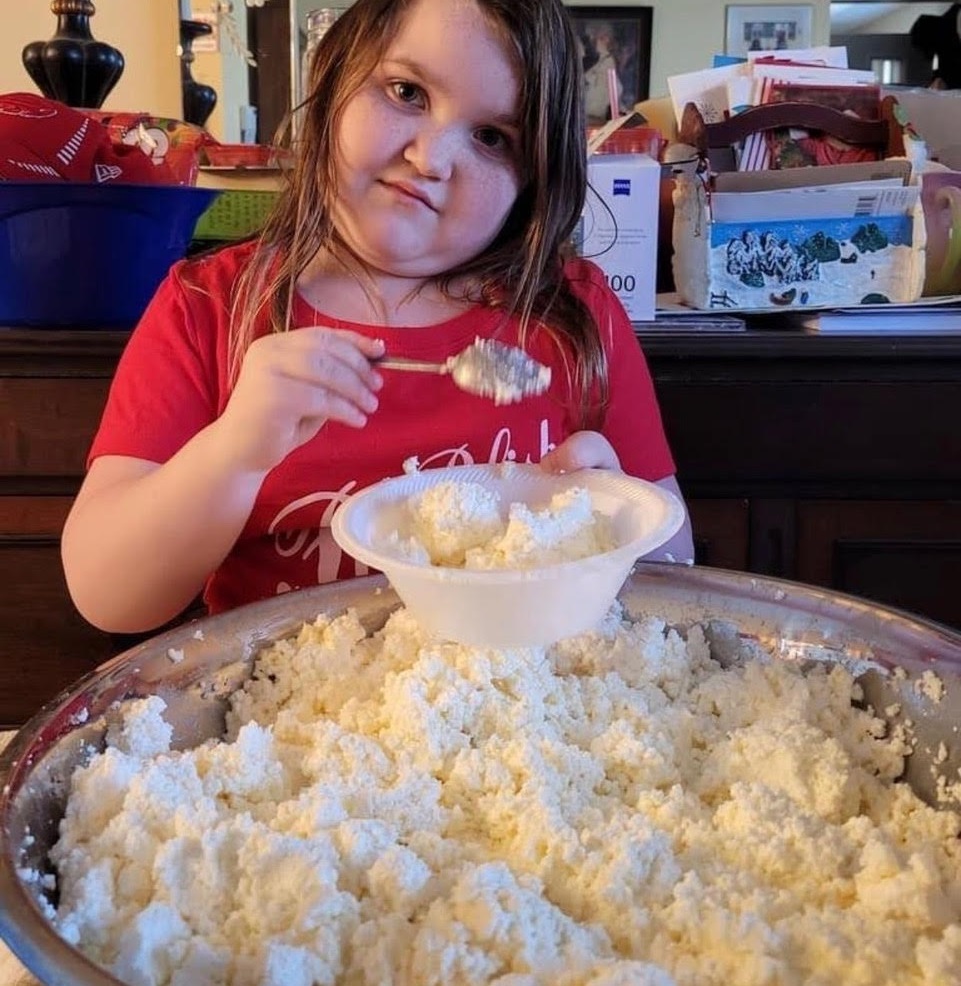
Step 2: Prepare the Filling
Mash boiled potatoes and mix with cheddar, salt, and pepper for a classic filling. For sauerkraut, sauté it in bacon fat for rich flavor. For the adventurous, combine cooked steak, hot pepper, and cheese. Kids can help mash, mix, and even sprinkle in extras like chopped herbs or mild veggies.
Step 3: Roll and Cut
Dust the counter with flour. Roll dough to about ⅛ inch thick. Kids can help roll, then use a cookie cutter or glass to cut circles. Imperfect shapes are part of the fun — every pierogi is unique!
Step 4: Fill and Fold
Spoon a small amount of filling into each circle. Fold over and pinch edges with fingers or a fork. This is often a kids’ favorite job — just be sure to double-check their work so there are no gaps in the seams that will blow open when boiling.
Step 5: Cook and Freeze
Boil pierogis in salted water until they float (3–5 minutes), then spoon them out and into a bowl of vegetable oil, which prevents them from sticking together. Once cooled, bag them in freezer-safe bags—these keep for up to a year! For a fast meal, defrost in the microwave for 2 minutes, then sauté in warm butter over medium-high until browned on both sides.
Family Fun and Springtime Joy
Pierogi-making is perfect for spring because it’s tactile, social, and hands-on. Kids learn the joy of having an important job to do, while gaining coordination, creativity, and the pride of sharing in a family tradition. While it’s a lot of work, the reward goes well beyond plates piled high with golden, buttery pierogis. The bustling, laughter-filled kitchen and memories you’ll savor long after the last dumpling is gone.
Contact Shine in Bridgehampton to learn more about our Kitchen Stars class for kids.


